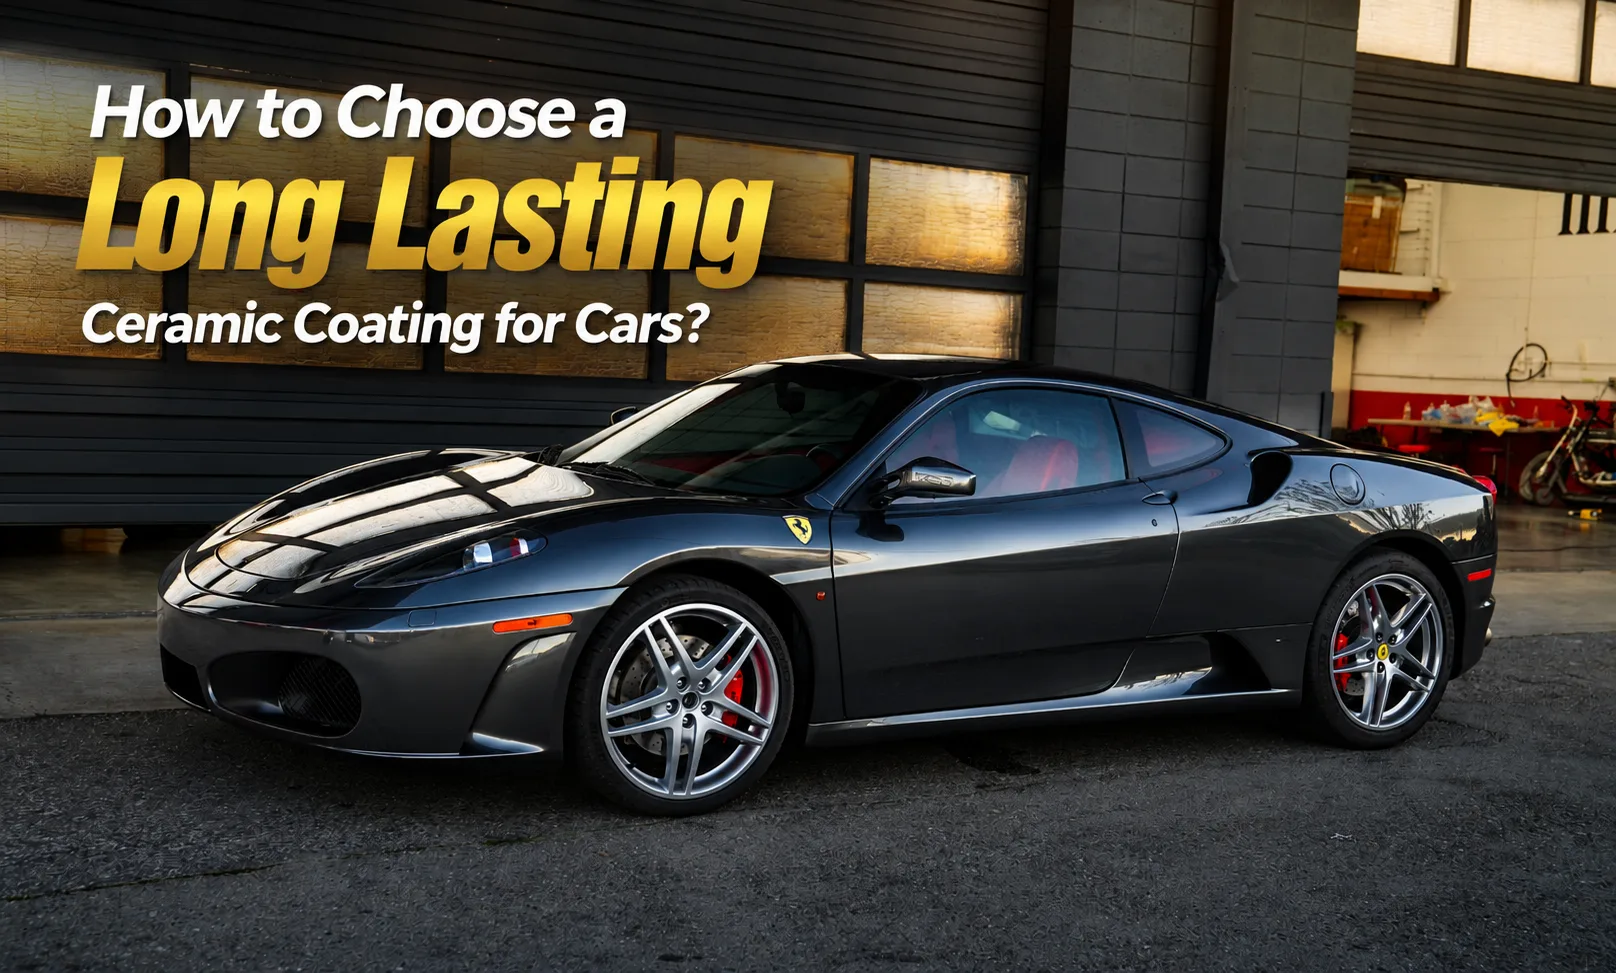
How to Choose a Long Lasting Ceramic Coating for Cars?
Protect your vehicle from paint damage. Learn how to choose a long lasting ceramic coating that keeps your car looking factory-perfect.
Read articleDiscover how to prevent window tint bubbling and secure a flawless look. Protect your vehicle with professional automotive window tinting tips.
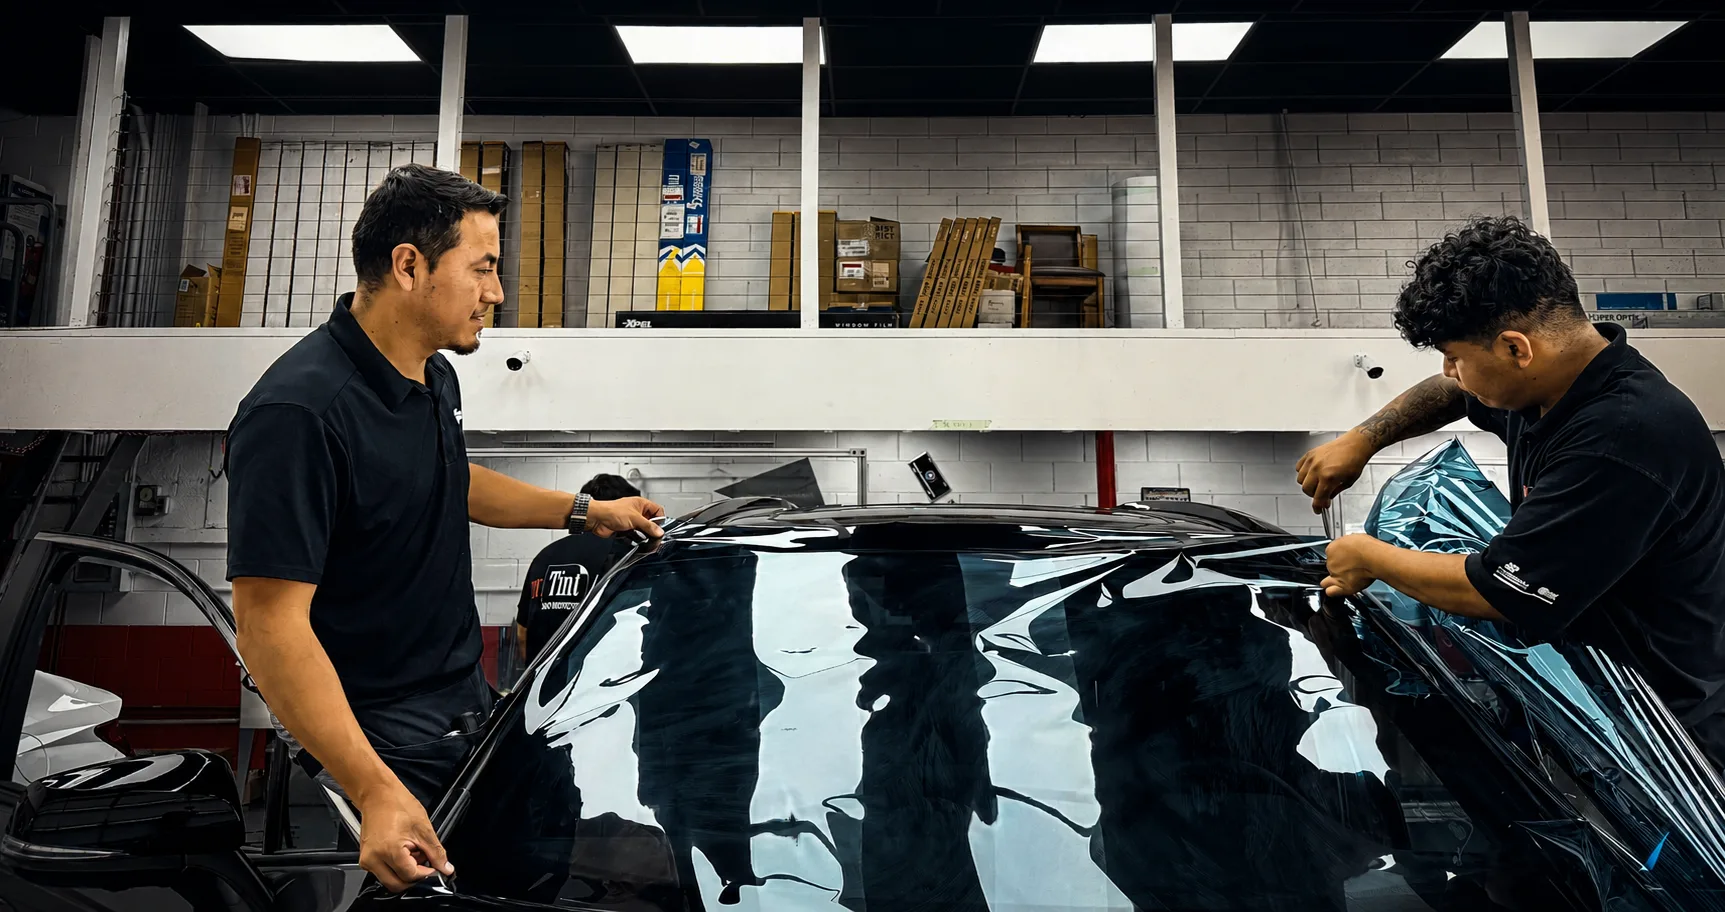
You notice it in your rearview mirror first. A tiny blister forms on your rear windshield, right over a defroster line. Within a month, that single blister transforms into a blurred web of pockets that makes parking impossible and completely ruins your car's look. Cheap film and poor technique turn a great ride into an embarrassing mess. Fortunately, learning how to prevent window tint bubbling saves you time, money, and visibility. The secret lies in understanding why films fail and choosing a quality car window tint installation over quick, cheap fixes. Let's break down exactly how to keep your glass clean, clear, and perfectly protected.
Here's the thing. Bubbled tint isn't just an eyesore; it is a direct hazard that compromises your vision during night driving and stormy weather.
Window film isn't just a giant sticker. It is a sophisticated, multi-layered polyester laminate engineered to block solar energy. The critical bond between the film and your glass relies on a specialized pressure-sensitive adhesive. This adhesive requires a completely clean surface to bond at a microscopic level. Think of it like trying to apply a piece of high-quality tape to a dusty garage workbench. If fine dust, moisture, or chemical residues remain on the glass during application, the adhesive bonds to those contaminants instead of the glass itself.
Over time, solar radiation heats the trapped moisture or microscopic air pockets. The heat causes these tiny pockets to expand. As they expand, they pull more film away from the glass, creating those ugly, distorted blisters. Peeling follows a similar path of failure. When the adhesive along the edges degrades or gets snagged by a tight window rubber seal, the film loses its physical grip. Once the wind or a rolling window catches that loose edge, the material separates completely.
A factory-edge finish isn't just about clean looks; it eliminates the gaps where dirt and friction catch the film.
Investing in a proper installation yields immediate practical advantages for your daily drive. Doing it right the first time eliminates the headache of premature failure.
Uncompromised road visibility helps you spot road hazards quickly and park safely without distorted blind spots.
Maximum solar heat rejection keeps your cabin comfortable during scorching summer afternoons.
Long-term interior preservation shields your leather seats and dashboard trim from costly cracking and fading.
Enhanced glass shatter resistance provides an extra layer of physical protection during unexpected road accidents.
The difference between standard dyed films and premium options shows up clearly in performance data. Low-grade dyed films often begin to break down and show physical defects within 12 to 24 months of exposure to intense sunlight. In contrast, premium nano-ceramic films block up to 99% of harmful ultraviolet radiation, preserving both your skin and your car's interior trim.
Real talk. Heat management is where the real separation happens.
Entry-level films offer minimal relief, while advanced ceramic options provide a 50% to 65% reduction in total solar energy transmission. This reduction directly lowers cabin temperatures by as much as 15°F to 20°F on a hot afternoon. What this means in practice is that your air conditioning system doesn't have to work nearly as hard to maintain a comfortable environment, saving fuel and wear on your compressor.
Choosing the right material changes everything. Here is how the most common automotive films compare across the metrics that actually matter to your vehicle's appearance and longevity.
Not all window tint films are built the same. Standard dyed film is an entry-level option that usually lasts 1 to 3 years, blocks 20–35% of solar heat, and is more prone to fading, bubbling, and discoloration over time. Carbon window film provides a better balance of durability and performance, lasting 5 to 10 years while rejecting 40–50% of heat. Its main weakness is the potential for edge peeling if the installation quality is poor. At the top of the market, ceramic and nano-ceramic films offer lifetime durability, reject 55–65% of heat, and maintain their appearance and performance with minimal risk of failure when installed by experienced professionals. This makes ceramic tint the preferred investment for drivers who value long-lasting comfort, protection, and reliability.
If you want to permanently avoid the hassle of trying to fix peeling car window tint down the road, investing in ceramic material is the smartest move you can make.
Let's talk numbers because transparency matters. A complete, professional automotive window tinting job for a standard sedan typically ranges from $250 to $450 for standard or carbon materials. If you step up to premium nano-ceramic films, expect the price to range between $500 and $800 depending on the number of windows and the complexity of the glass curves.
Cheap operations often advertise whole-car specials for $99 to $150. But consider this. Those bargain-basement prices rely on low-grade dyed films and rushed labor that cuts corners on glass preparation. You save eighty bucks upfront but end up paying twice as much later to strip the failed material and clean off the sticky residue.
Experienced installers follow a rigorous, multi-step process to ensure the film adheres perfectly without trapping air or contaminants. This level of precision is impossible to achieve with a DIY kit in a dusty home driveway.
First, the glass undergoes a deep mechanical and chemical cleaning. Installers use specialized stainless steel scrub pads and squeegees to remove every speck of road grime, overspray, and microscopic dust. Even a single particle of dust can create an air pocket.
Second, the film is heat-shrunk on the outside of the window before installation. Windows have complex, multi-directional curves. By using a professional heat gun to pre-shape the film to the exact contour of the exterior glass, the installer ensures that the film lays completely flat when applied to the inside surface. This step eliminates the structural tension that causes edges to lift and peel.
Finally, the film is applied using a precise slip solution and specialized squeegees. Installers apply heavy, overlapping strokes from the center outward to extract 100% of the mounting solution. Leaving water pockets behind is a primary cause of bubbling during the drying phase.
Maintaining your film requires the right habits right after you leave the shop. Follow these critical guidelines to protect your investment:
Respect the cure window: Keep your windows rolled completely up for at least 3 to 5 days after installation to let the adhesive fully bond.
Ditch the ammonia cleansers: Never use traditional glass cleaners containing ammonia, as the chemical strips the protective topcoat and destroys the adhesive bond.
Watch the seatbelts: Careless seatbelt releases can fling the metal buckle against the glass, creating small nicks that allow air to penetrate the film edge.
Clean with microfiber only: Use a soft microfiber towel and distilled water or a tint-safe cleaner to wipe down the interior glass surfaces.
No, attempting a DIY repair usually makes the damage worse and leaves a stubborn adhesive residue on your glass. Once a film begins to peel or bubble, the material has stretched and the adhesive has degraded, meaning complete replacement by a professional is the only way to restore clarity.
The curing process typically takes anywhere from 3 to 14 days depending on your local climate, humidity levels, and the time of year. During this window, a slight moisture haziness or tiny water bubbles are completely normal and will evaporate on its own as the film settles.
Cheap dyed films use unstable organic dyes that break down rapidly under ultraviolet solar radiation. As the dye chemically decomposes, it releases gasses that get trapped under the laminate, causing the characteristic purple color change and widespread bubbling.
Yes, if left unaddressed or stripped improperly, failed tint can ruin your rear defroster grids. Removing old, bubbled film requires specialized steam machines to soften the adhesive without tearing the delicate metallic heating elements printed on your rear glass.
Protecting your vehicle's look and cabin comfort requires zero shortcuts. By choosing premium ceramic films and relying on professional automotive window tinting, you ensure a clean, flawless look that lasts for the long haul. At Mr Tint, we back our precision craftsmanship with industry-leading products and certified expertise. See the difference quality makes. Contact Mr Tint today to schedule your personalized consultation and get an accurate, upfront quote for your vehicle.
Protect your vehicle from paint damage. Learn how to choose a long lasting ceramic coating that keeps your car looking factory-perfect.
Read article
Wondering about residential window tinting cost? Discover how solar control window film cuts heat and lowers utility bills permanently.
Read article
Protect your vehicle from rock chips while changing its look with colored paint protection film. Learn how color PPF beats standard wraps.
Read article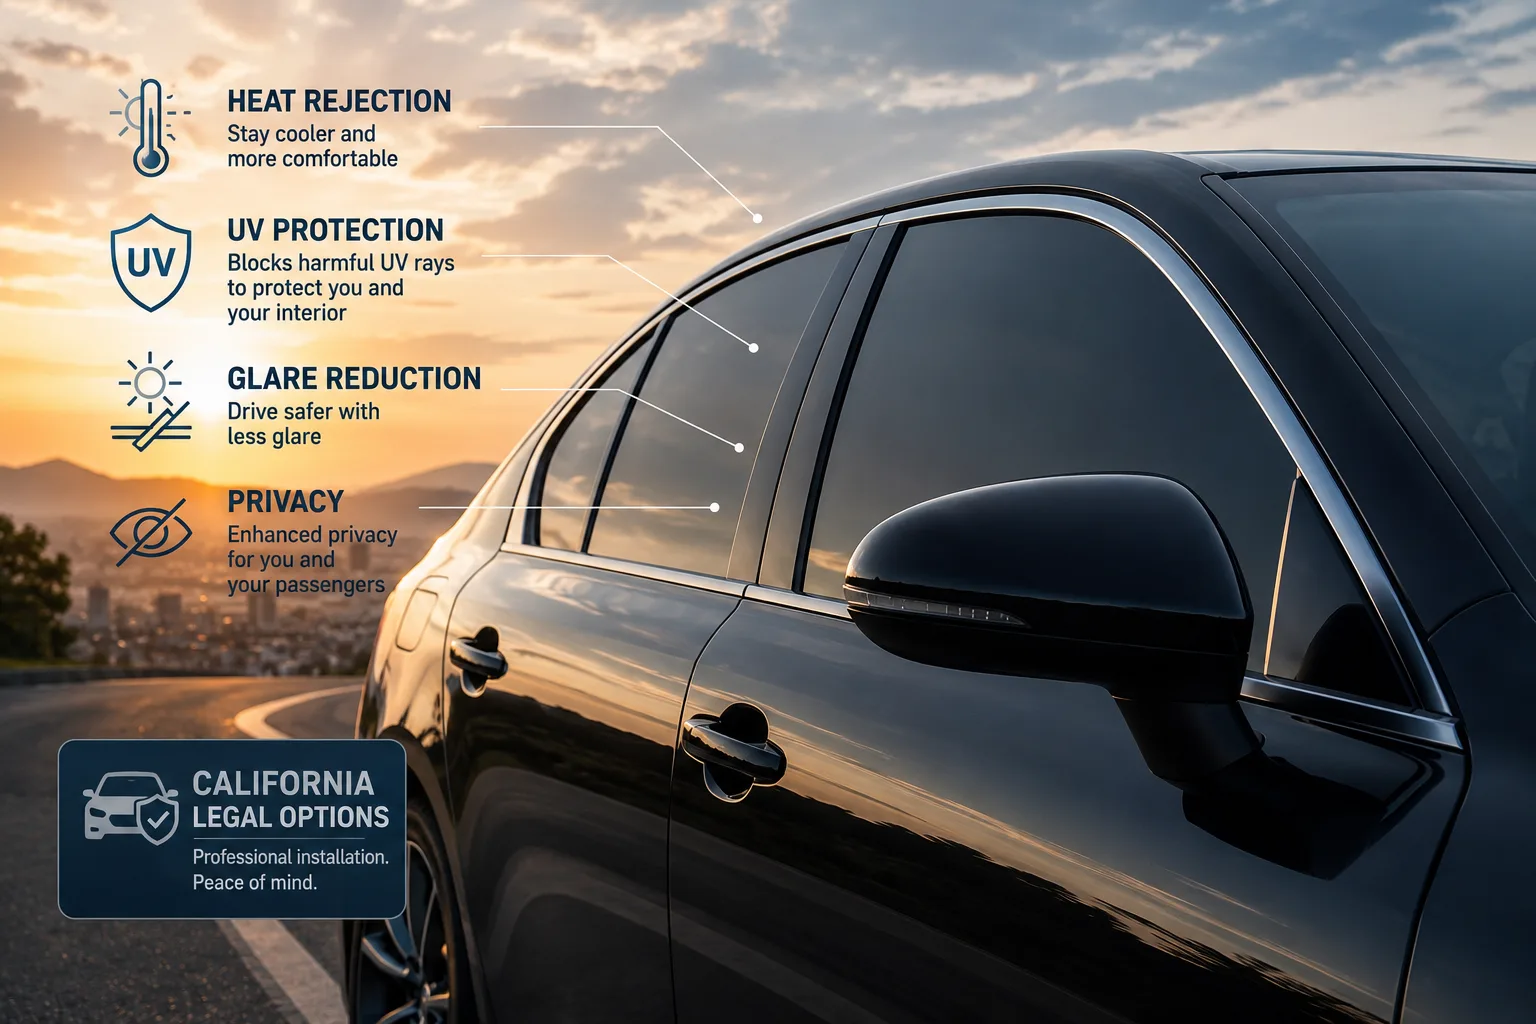
Every shop advertises 98 percent infrared rejection. Almost none will show you the TSER. A plain-English comparison of dyed, metalized, carbon, ceramic, and graphene film, and why California's 70 percent rule makes film quality matter more than darkness.
Read article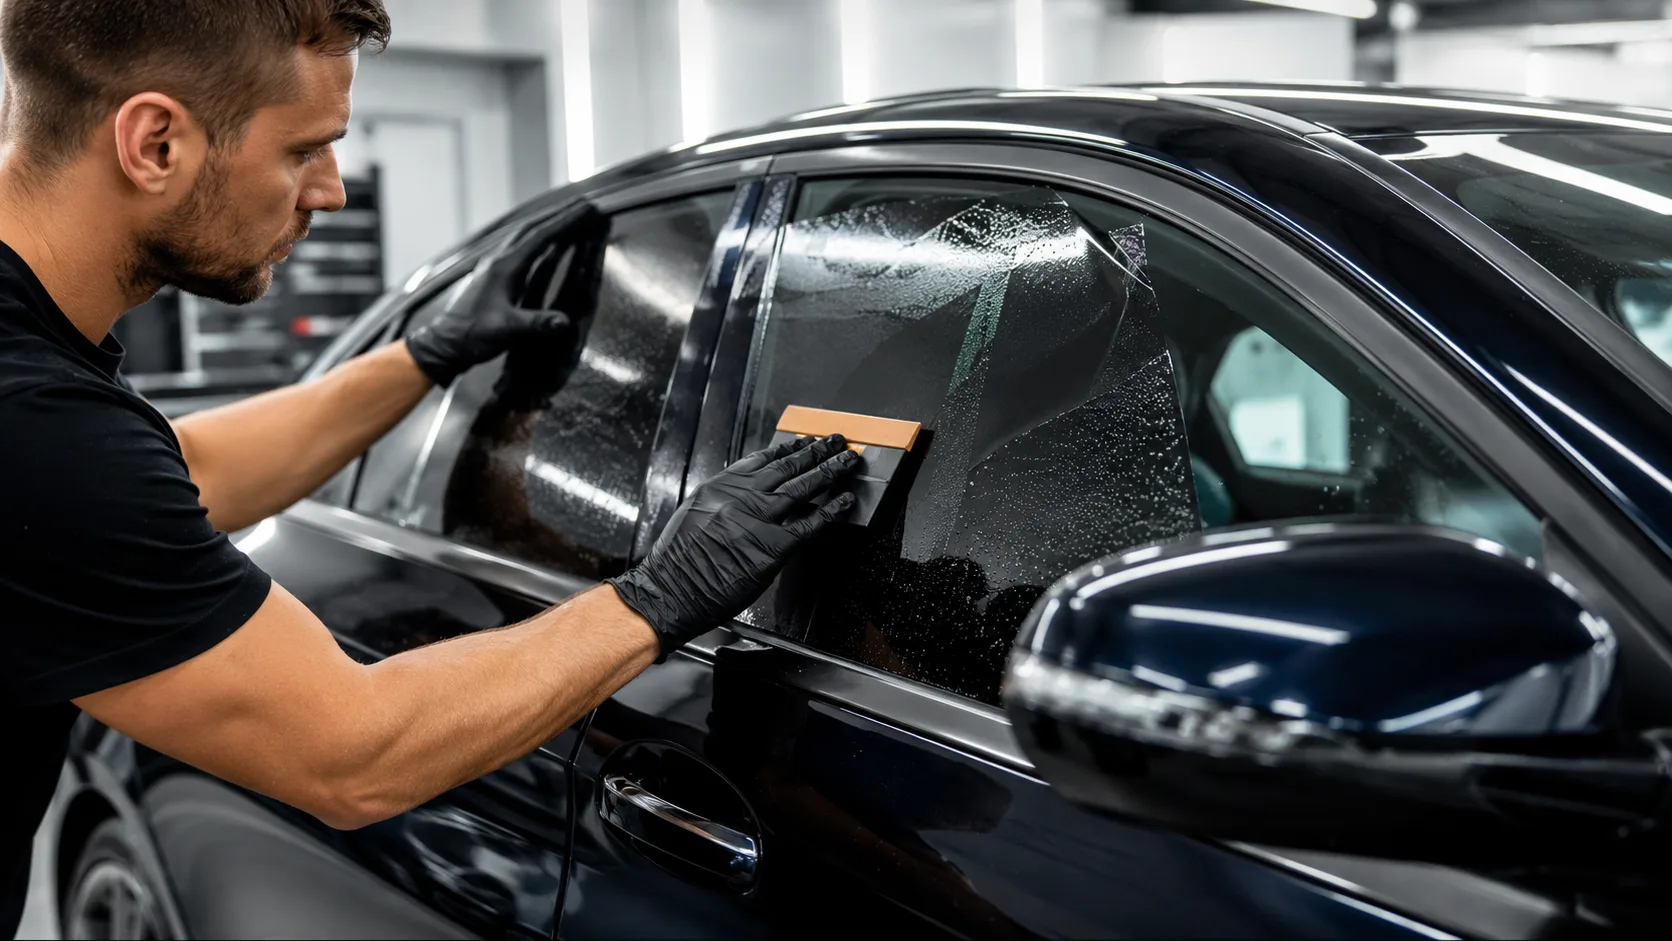
San Jose saw a burglary spree of more than a hundred vehicles in two days this year, and nearly every break-in starts with someone looking through the glass. California lets you go as dark as you like behind the front seats. Here is how to use that, and what tint will not do.
Read article